4. Async display
Used includes in this chapter
use defmt::unwrap;
use embassy_executor::Spawner;
use embassy_nrf::{
bind_interrupts,
gpio::{Level, Output, OutputDrive},
peripherals,
spim,
};
use embedded_graphics::{
image::{Image, ImageRaw, ImageRawLE},
pixelcolor::{raw::RawU16, Rgb565},
prelude::*,
};
use static_cell::StaticCell;
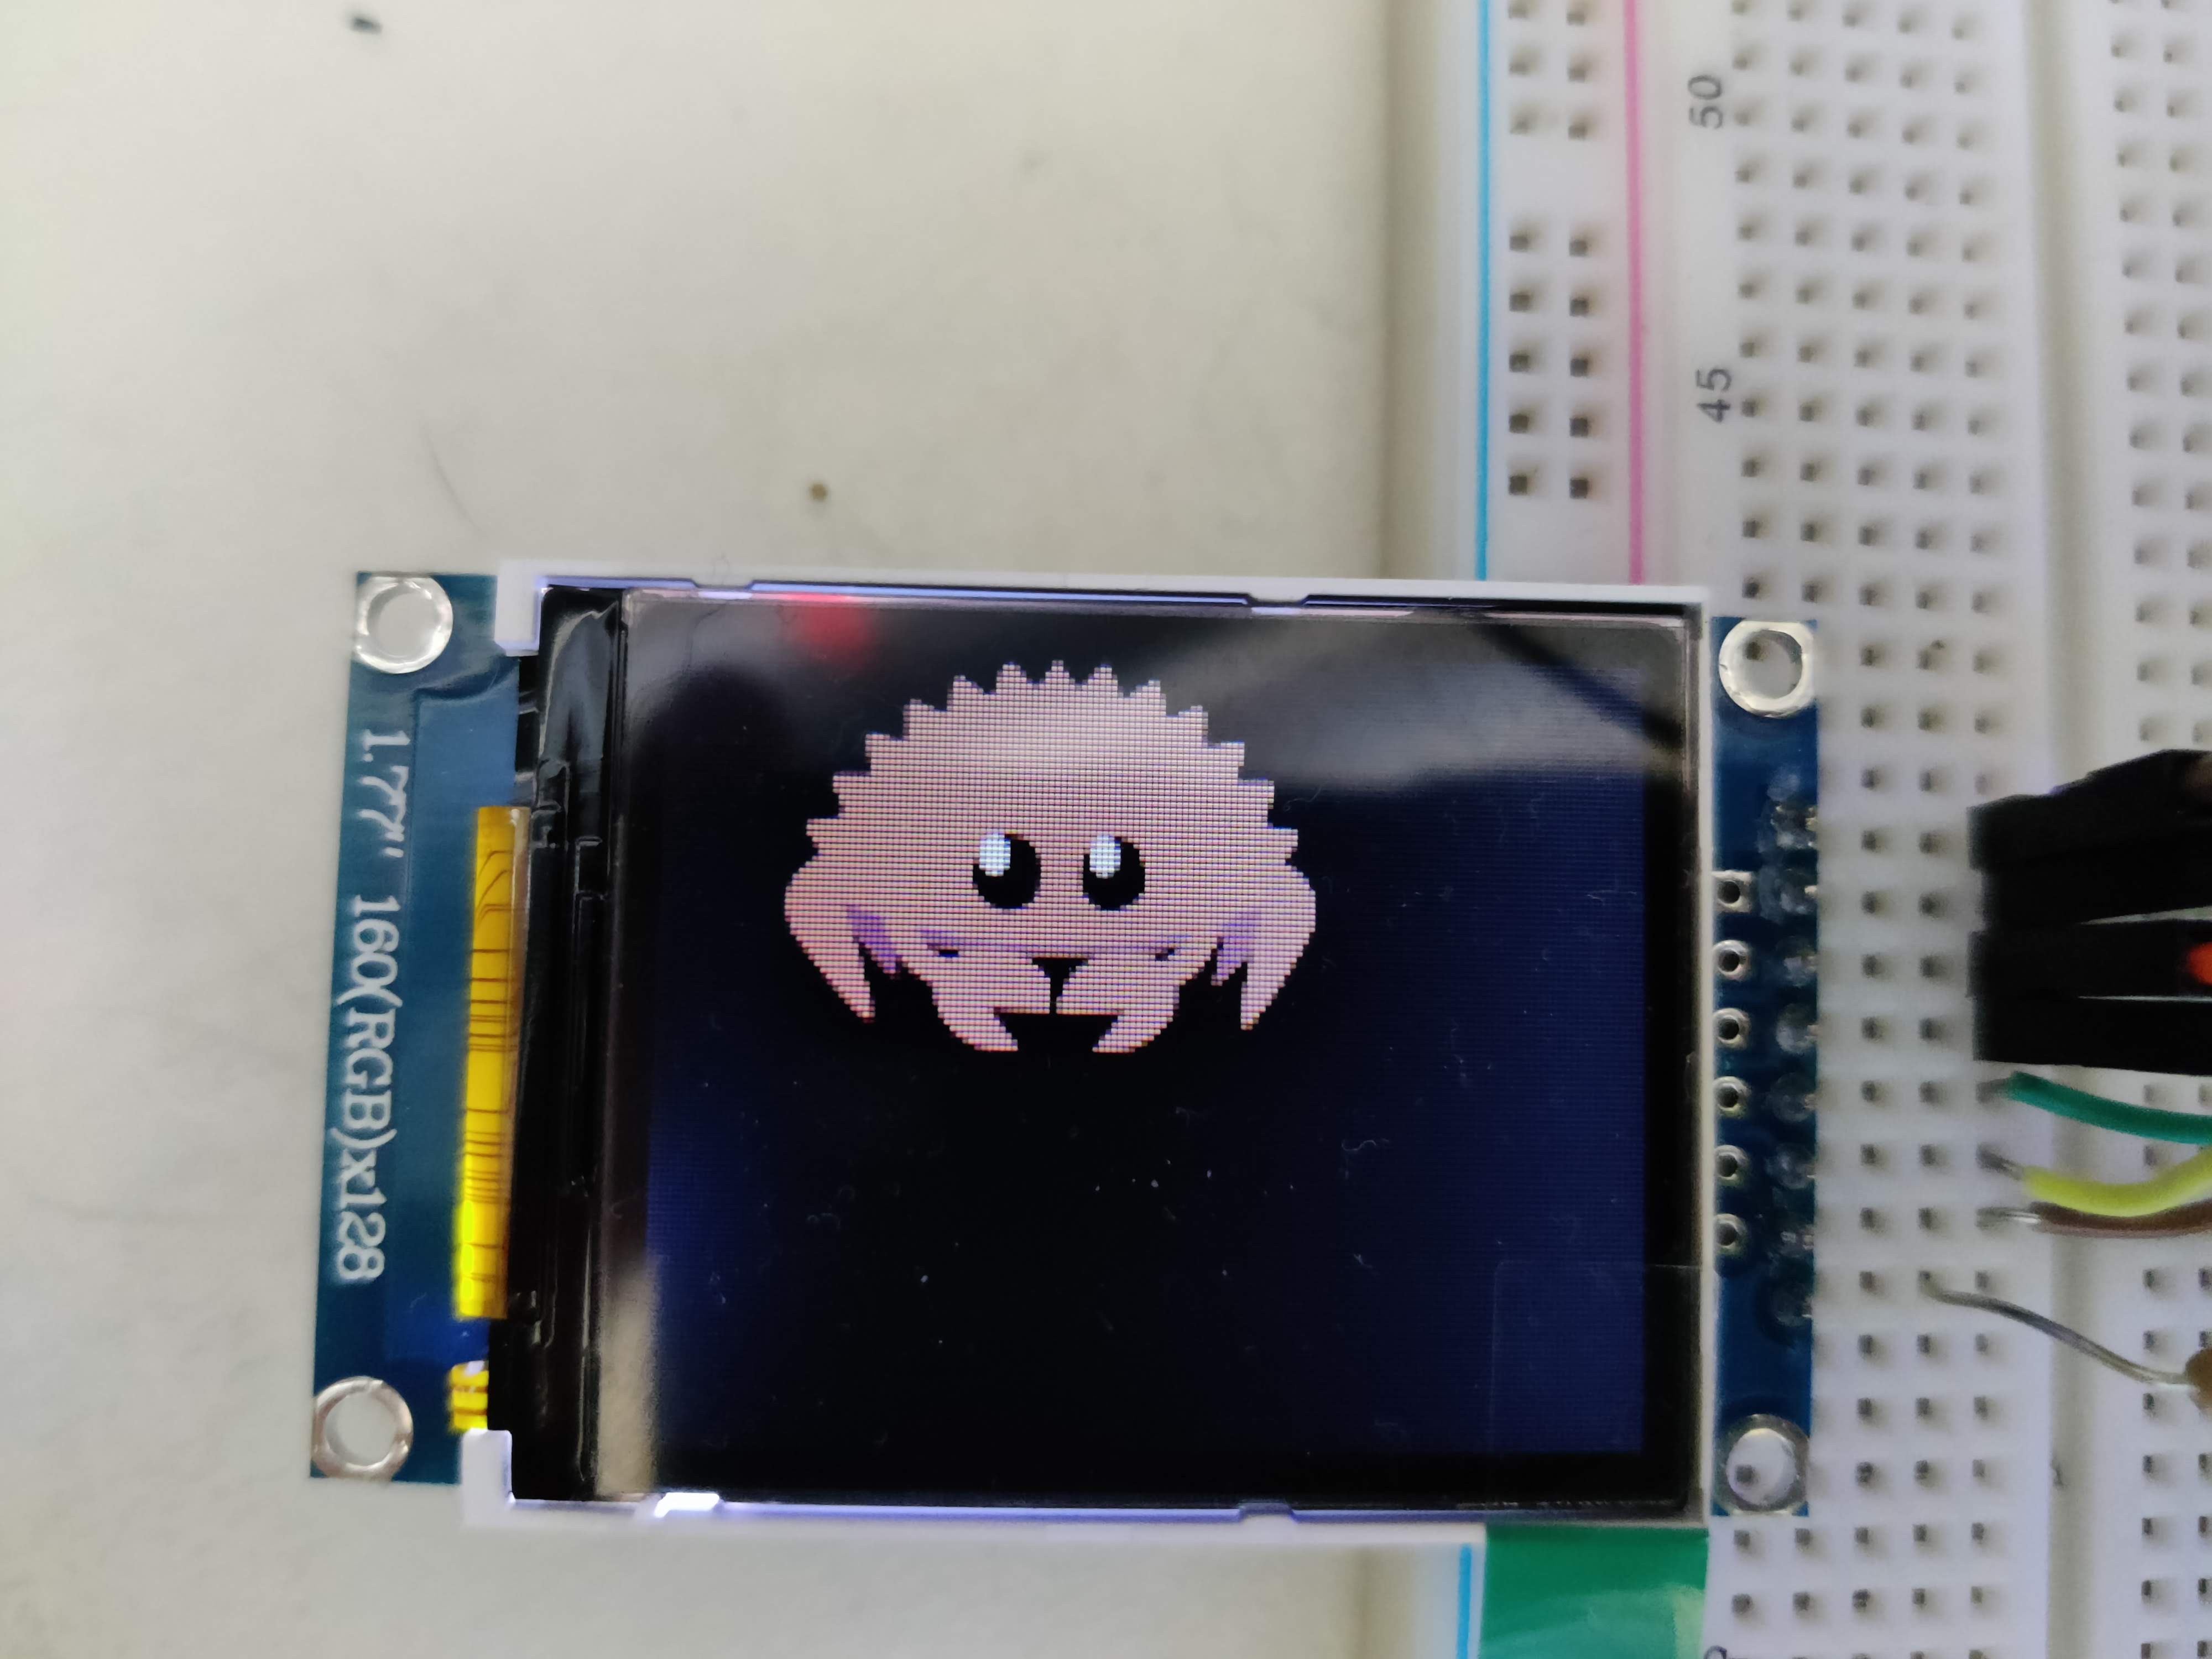
use {defmt_rtt as _, panic_probe as _};We now have a working display example of Ferris with a black background. The next step is to try and use some more goodies of Embassy's executor and profit from its async superpowers.
This however, is not as trivial yet.
embedded_graphics uses a lot of iterators and callbacks in its API, which makes it rather difficult to not resort to blocking calls.
This would defeat the usefulness of async.
The reason why we need to resort to blocking calls, is because Rust's iterators do not support async.
There are proposals to add streams to the language, but these need some more work before they become stable.
For now, embedded_graphics gives us a nice API to communicate with a display and provides the ability to reason about higher abstraction draw calls.
In this chapter we will use an adapted version of the screen driver we used last chapter.
The API is almost the same as the previous, except most functionalities are now async functions (built on top of embedded_hal_async).
Doing this requires us to no longer directly use embedded_graphics.
We will fix this by using a framebuffer on which we will implement the DrawTarget-trait and use that for all our draw calls from embedded_graphics.
Once we have a finished image, we take the buffer and directly write it to the screen with our modified driver, but this time asynchronously.
This is more efficient, as the main core in the chip can now sleep while the image is being transferred to the display.
The framebuffer
Go to the file src/frame_buffer.rs.
In here, we will implement our framebuffer.
There is already a skeleton implementation of the final framebuffer which you will have to complete.
Here follows the framebuffer's definition and its constructor.
pub struct FrameBuffer {
    buf: [Rgb565; 160 * 128],
}

impl FrameBuffer {
    const WIDTH: usize = 160;
    const HEIGHT: usize = 128;

    pub fn new() -> Self {
        buf: [Rgb565::BLACK; 160 * 128],
    }
}
Rgb565 encodes five bits for red, six bits for green, and five bits for blue.
Normally we would expect to represent RGB values with at least eight bits per channel, but this is wasteful in the current context as our display cannot represent all colors in the RGB range with eight bits per channel.
Another bonus of using Rgb565 is that it only uses 16 bits which makes it word aligned.
This improves the memory read/write efficiency on our embedded device.
The reason why we let green have one more bit of precision, is because the human eyes are more susceptible for deviations in the green channel.
Next we will need to implement two traits from embedded_graphics: DrawTarget and OriginDimensions.
To help with implementing the following portion, take a look at the following four resources:
DrawTargetminimal example + docs: https://docs.rs/embedded-graphics/latest/embedded_graphics/draw_target/trait.DrawTarget.htmlOriginalDimensionsdocs: https://docs.rs/embedded-graphics/latest/embedded_graphics/geometry/trait.OriginDimensions.htmlDimensionsautomatically implemented whenOriginalDimensionsis implemented: https://docs.rs/embedded-graphics/latest/embedded_graphics/geometry/trait.Dimensions.htmlRectanglevery useful for doing some of the calculations: https://docs.rs/embedded-graphics/latest/embedded_graphics/primitives/rectangle/struct.Rectangle.html
To start, you already have the following boilerplate code.
You should now implement the methods marked with todo!.
impl DrawTarget for FrameBuffer {
    type Color = Rgb565;

    type Error = Infallible;

    // ACTUALLY THE ONLY REQUIRED METHOD
    // write individual pixels to the buffer
    // a pixel is a tuple of a position and a color
    // => write the color value to the correct position
    // in the buffer. The way we can find the position in
    // buffer is through the following formula: i = y * WIDTH + x
    fn draw_iter<I>(&mut self, pixels: I) -> Result<(), Self::Error>
    where
        I: IntoIterator<Item = embedded_graphics::Pixel<Self::Color>>,
    {
        todo!()
    }

    // OPTIONAL, BUT RECOMMENDED
    // draws pixels that should be near each other.
    // We are overwriting here the default method for this trait.
    // By default, it uses the draw_iter method, but this can be
    // inefficient for certain displays. So, we implement these methods
    // to more efficiently make use of the underlying buffer.
    fn fill_contiguous<I>(
        &mut self,
        area: &embedded_graphics::primitives::Rectangle,
        colors: I,
    ) -> Result<(), Self::Error>
    where
        I: IntoIterator<Item = Self::Color>,
    {
        todo!()
    }

    // OPTIONAL, BUT RECOMMENDED
    // same as fill_contiguous, but 1 single color
    fn fill_solid(
        &mut self,
        area: &embedded_graphics::primitives::Rectangle,
        color: Self::Color,
    ) -> Result<(), Self::Error> {
        todo!()
    }

    /// Clears the entire screen
    fn clear(&mut self, color: Self::Color) -> Result<(), Self::Error> {
        self.buf.fill(color);
        Ok(())
    }
}

impl OriginDimensions for FrameBuffer {
    fn size(&self) -> Size {
        Size {
            width: Self::WIDTH as u32,
            height: Self::HEIGHT as u32,
        }
    }
}
If you are a bit unsure about iterators in Rust, then the following resources may help:
Solution draw_iter
fn draw_iter<I>(&mut self, pixels: I) -> Result<(), Self::Error>
where
    I: IntoIterator<Item = embedded_graphics::Pixel<Self::Color>>,
{
    for p in pixels.into_iter() {
        if self.bounding_box().contains(p.0) {
            self.buf[(p.0.y * Self::WIDTH as i32 + p.0.x) as usize] = p.1;
        }
    }
    Ok(())
}
Solution fill_contiguous
fn fill_contiguous<I>(
    &mut self,
    area: &embedded_graphics::primitives::Rectangle,
    colors: I,
) -> Result<(), Self::Error>
where
    I: IntoIterator<Item = Self::Color>,
{
    let mut colors = colors.into_iter();
    for y in area.rows() {
        let bias = y as usize * Self::WIDTH;
        let start = bias + area.columns().start.clamp(0, 159) as usize;
        let end = bias + area.columns().end.clamp(0, 159) as usize;
        for i in &mut self.buf[start..end].iter_mut() {
            *i = colors.next().unwrap_or_default();
        }
    }
    Ok(())
}
Solution fill_solid
fn fill_solid(
    &mut self,
    area: &embedded_graphics::primitives::Rectangle,
    color: Self::Color,
) -> Result<(), Self::Error> {
    for y in area.rows() {
        let bias = y.clamp(0, 127) as usize * Self::WIDTH;
        let start = bias + area.columns().start.clamp(0, 159) as usize;
        let end = bias + area.columns().end.clamp(0, 159) as usize;
        self.buf[start..end].fill(color);
    }

    Ok(())
}
Before we can call this finished, we still need a way to take a reference to the final buffer out of the struct.
For this, the AsRef trait is already implemented:
impl AsRef<[Rgb565; 160 * 128]> for FrameBuffer {
    fn as_ref(&self) -> &[Rgb565; 160 * 128] {
        &self.buf
    }
}
Drawing Ferris again...
As we have our adapted screen driver and our framebuffer, the hardest part is behind us. For the last part in this chapter, we will create a simple animation of our most favorite red sea creature moving from left to right.
The first step is to stop using the st7735-lcd crate and move to st7735-lcd-async.
The async version of the driver has already been added to your Cargo.toml.
st7735-lcd = "0.9.0" # old driver
st7735-lcd-async = { path = "st7735-lcd-async", features = ["defmt"] } # we are now going to use this one
This means that you should now change all occurrences of st7735_lcd to st7735_lcd_async.
In addition to this, the arguments of the constructor of the display have also changed, and as such should be updated.
- let mut display = st7735_lcd::ST7735::new(spi, rs, res, true, false, 160, 128);
+ let mut display = st7735_lcd_async::ST7735::new(spi, rs, res, true, false);
Next up is to call the async versions in the initialization process for our screen.
// convert to type-erased AnyPin
let res = Output::new(p.P0_29, Level::Low, OutputDrive::Standard);
let rs = Output::new(p.P0_30, Level::Low, OutputDrive::Standard);

let mut delay = embassy_time::Delay;
let mut display = st7735_lcd_async::ST7735::new(spi, rs, res, true, false); // CHANGED
display.init(&mut delay).await.unwrap(); // CHANGED
display
    .set_orientation(&st7735_lcd_async::Orientation::Landscape) // CHANGED
    .await // NEW
    .unwrap();
Then the only thing left for us, is to first draw the current frame to the framebuffer and once it is ready, push it out to the driver. To make it a bit more interesting, we will add an animation, where we move Ferris across the screen.
As a framebuffer uses a lot of memory, it is required for us to move the memory outside the future.
The way we do this is through a StaticCell.
// At the top of the file, add
use static_cel::StaticCell;

// setup framebuffer
static FRAMEBUFFER_CONTAINER: StaticCell<FrameBuffer> = StaticCell::new(); // NEW
let mut fb: &mut FrameBuffer = FRAMEBUFFER_CONTAINER.init(FrameBuffer::new()); // NEW

// Load the image back in (NOT CHANGED)
let image_raw: ImageRawLE<Rgb565> = ImageRaw::new(include_bytes!("../assets/ferris.raw"), 86);
let mut image = Image::new(&image_raw, Point::new(0, 0)); // give it a place
let mut x = 0;
loop {
    image = Image::new(&image_raw, Point::new(x, 0)); // This does not copy the image
    unwrap!(fb.fill_solid(&fb.bounding_box(), Rgb565::BLACK)); // clear the screen
    unwrap!(image.draw(fb)); // draw the image

    // the framebuffer is now ready, lets send async the final image to the screen
    unwrap!(
        display
            .set_pixels_buffered(
                0, // start x
                0, // start y
                159, // end x
                127, // end y
                // convert the framebuffer to an iterator with only u16
                // this is the way the display expects the rgb colors to arrive
                fb.as_ref().iter().map(|c| RawU16::from(*c).into_inner())
            )
            .await // async super powers
    );

    x += 10; // Move Ferris 10 pixels
    x %= 80; // To prevent Ferris from falling off the screen
}